A properly corrected paint finish can transform a vehicle from dull and scratched to deep, glossy, and mirror-like. Buffing and polishing is more than just running a machine over the paint — it requires careful preparation, the right tools, and a step-by-step process to safely remove imperfections without damaging the clear coat.
Whether you're detailing professionally or restoring your own vehicle’s shine, following the correct preparation and correction steps will produce the best results..
Why Proper Preparation MattersBefore touching a buffer to the paint, preparation is critical. Dirt, contamination, or leftover debris on the surface can cause swirl marks and scratches during the polishing process. Proper prep ensures the polishing pad works directly on the paint instead of grinding contaminants into it.Skipping prep is one of the biggest mistakes beginners make when attempting paint correction.
Step-by-Step Guide to Preparing and Polishing a Vehicle
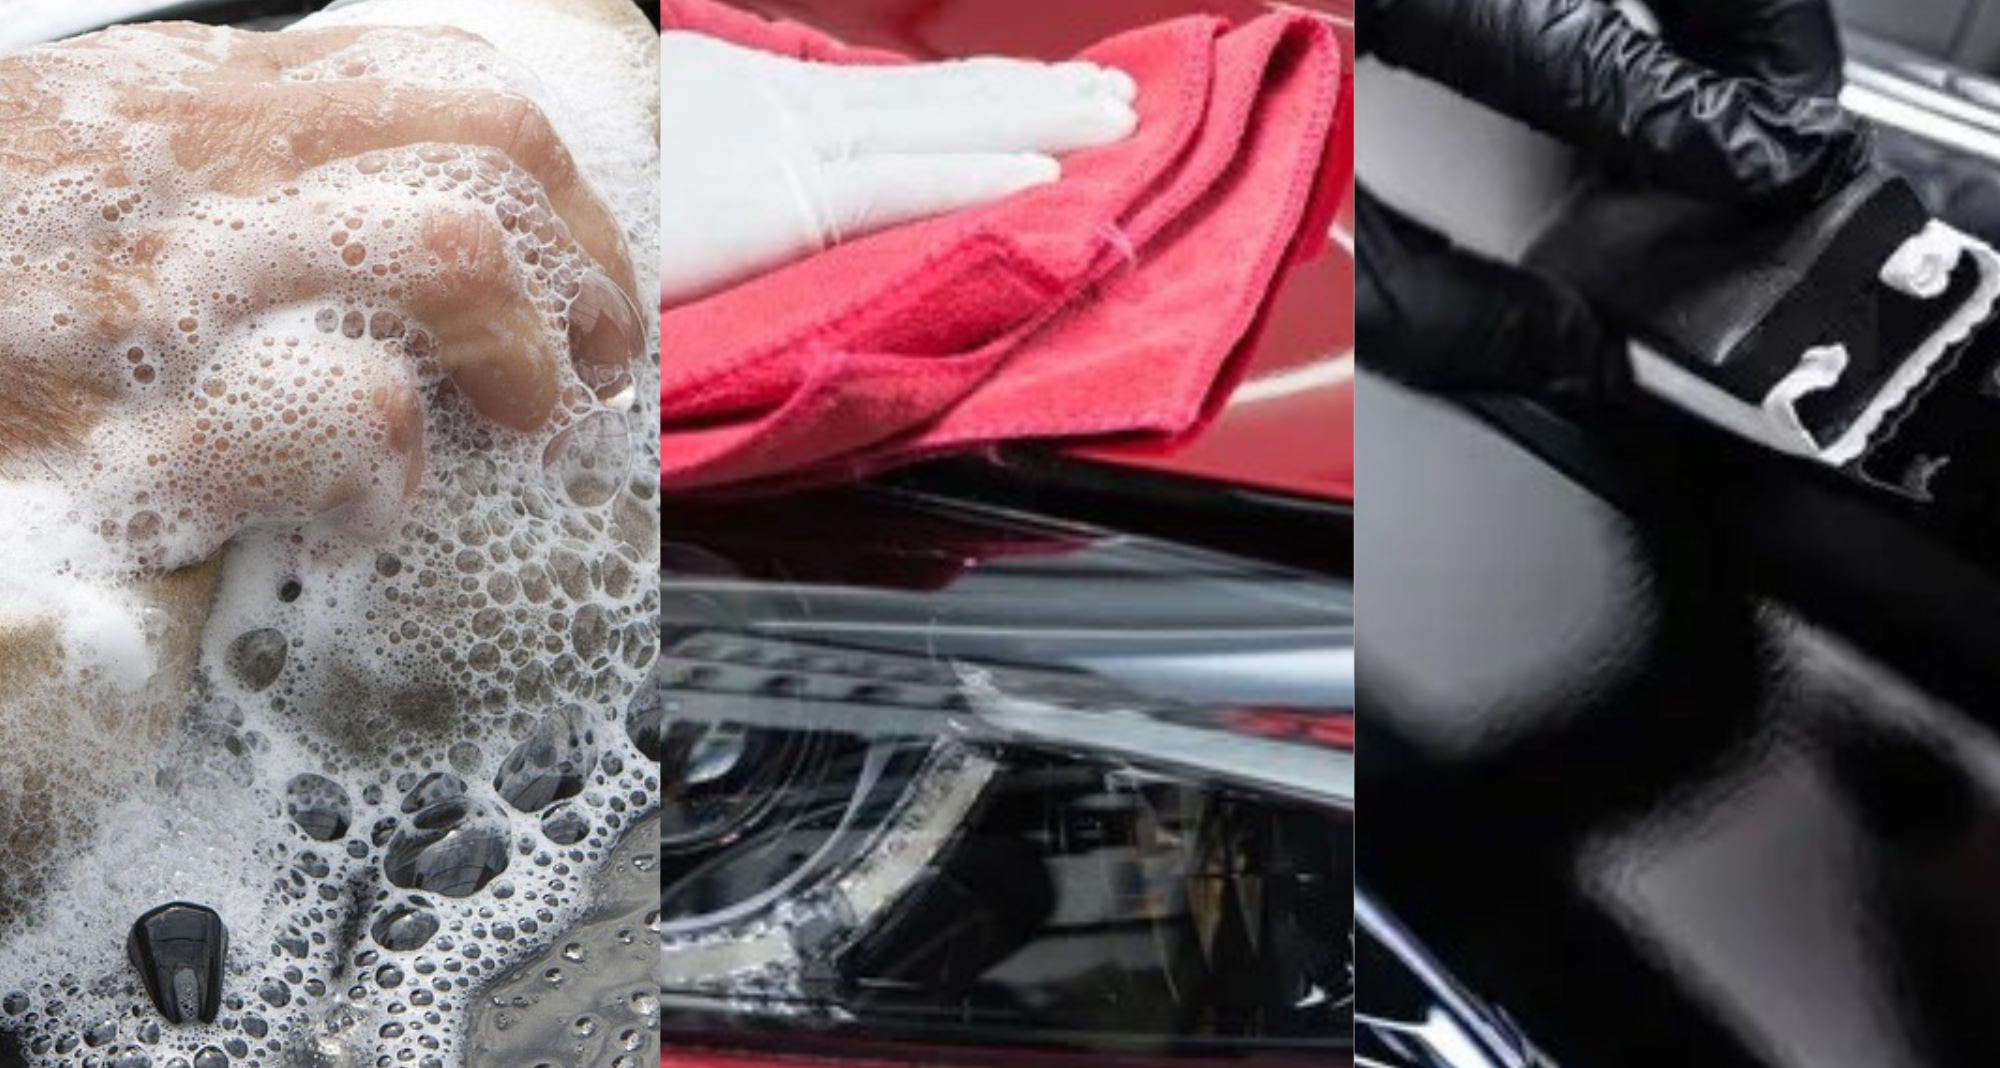
Step 1: Thorough Exterior Wash
--Start with a complete wash to remove dirt, dust, and road grime.
- ✔️ pH-balanced car shampoo
- ✔️ Two-bucket wash method
- ✔️ Microfiber wash mitt
- ✔️ Grit guards in buckets
The two-bucket method prevents dirt from re-entering the wash mitt and scratching the paint.
Wash from top to bottom, rinsing frequently..
Step 2: Chemical Decontamination
After washing, remove bonded contaminants that soap cannot eliminate.
Use:
- ✔️ Iron remover
- ✔️ Bug and tar remover if needed
Iron removers dissolve tiny metal particles embedded in the paint that can interfere with polishing and create rust spots over time.
Allow the chemical to react and rinse thoroughly.
Step 3: Clay Bar Treatment
Next, physically remove any remaining contaminants using a clay bar or clay mitt.
Spray a clay lubricant and gently glide the clay across the surface.
This step removes:
- ✔️ Tree sap
- ✔️ Overspray
- ✔️ Industrial fallout
- ✔️ Remaining road contaminants
Pro Tip:
After claying, the paint should feel smooth like glass.
Step 4: Dry the Vehicle Properly
Dry the vehicle using:
- ✔️ Large microfiber drying towels
- ✔️ A car dryer or blower (optional)
Remember:
Avoid bath towels or rough fabrics that can cause scratches.
Step 5: Paint Inspection
Look for:
- ✔️ Swirl marks
- ✔️ Scratches
- ✔️ Oxidation
- ✔️ Water spots
- ✔️ Holograms
Use strong LED lighting or sunlight to reveal imperfections.
This inspection determines the level of correction needed.
Step 6: Tape Off Sensitive Areas
Protect trim and delicate surfaces before polishing.
Tape off:
- ✔️ Rubber trim
- ✔️ Plastic moldings
- ✔️ Emblems
- ✔️ Edges
Painter’s tape prevents polish from staining trim and reduces the risk of burning edges with the buffer.
Step 7: Choose the Right Pads and Compounds
Paint correction typically involves two stages:
Cutting Stage - Removes deeper scratches and swirls.
Use:
- ✔️ Cutting Compound
- ✔️ Wool(Heavy Cut)
- ✔️ microfiber pad(Heavy/Medium)
- ✔️ Cutting foam(Medium/Light).
(Choose depending on type of correction).
Painter’s tape prevents polish from staining trim and reduces the risk of burning edges with the buffer.
Polishing Stage - Refines the finish and restores gloss.
Use:
- ✔️ Polishing Compound
- ✔️ Soft foam polishing pad
Always start with the least aggressive method first.
Step 8: Machine Polishing (Buffing)
Work in small sections (about 2x2 feet).
Steps:
- Apply a few small drops of compound to the pad
- Spread the product on low speed
- Increase speed and work the area using overlapping passes
- Use moderate pressure, keeping the pad flat
- Wipe residue with a clean microfiber towel
Move slowly and consistently to allow the compound to break down properly.
Step 9: Final Polishing Pass
Switch to a finishing polish and softer pad.
This step:
- ✔️ Removes haze from the cutting stage
- ✔️ Enhances gloss
- ✔️ Creates a deep reflective finish
Work the polish until the paint develops a clear shine.
Step 10: Step 10: Panel Wipe
Important: After polishing, wipe the surface with an alcohol-based panel wipe.
This removes polishing oils so you can accurately see the corrected finish and prepare the paint for protection.
Buffing and polishing a vehicle is one of the most satisfying parts of automotive detailing. When done correctly, paint correction restores clarity, depth, and gloss that can make a vehicle look better than new.The key to professional results is patience, proper preparation, and using the correct tools for the job. By following these steps, you can safely eliminate imperfections and reveal the true beauty of the vehicle’s paint.With the right technique and attention to detail, a dull finish can become a flawless mirror.